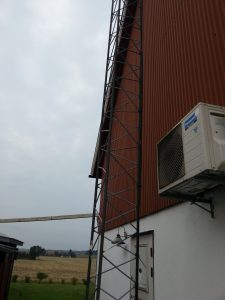
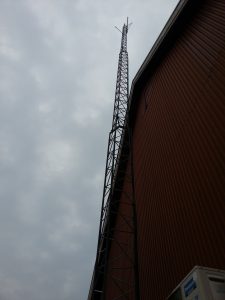
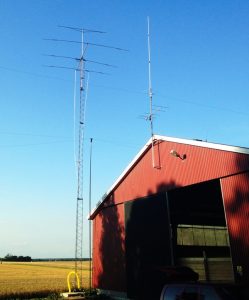
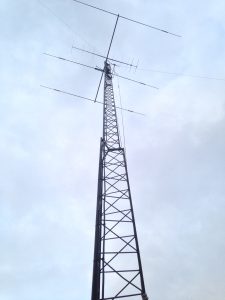
Here, current info and photos on the mast and set
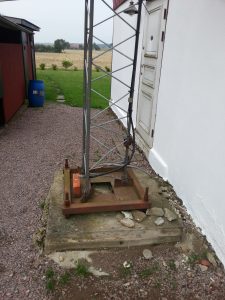
Here stood the mast at dismantling
Check out the below videos at dismantling
The mast on the way down
Once down
On the truck
Unloading at the barn
Now the work starts at the barn
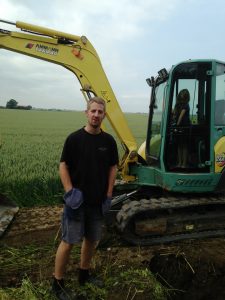
The proud digger
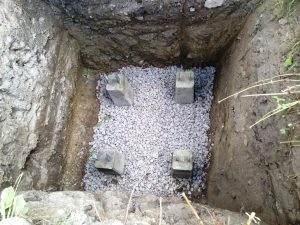
Then the work starts with the foundation.
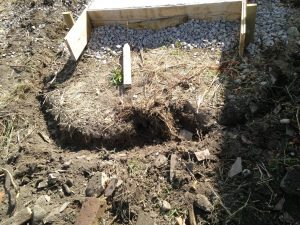
The hole was 1200x1200x2100
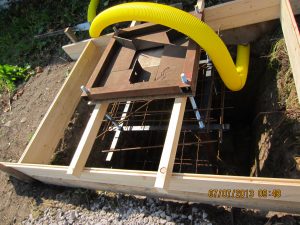
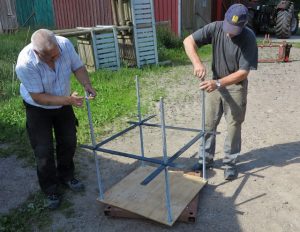
Wood structure in place
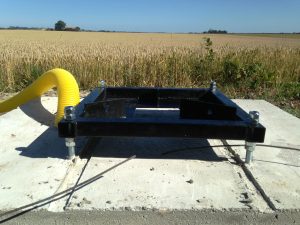
Fully threaded 24mm rods
Even got a nice visit by Mats SM7BUA
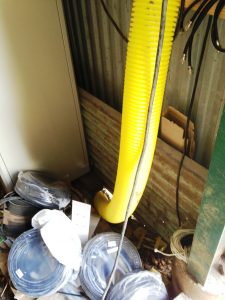
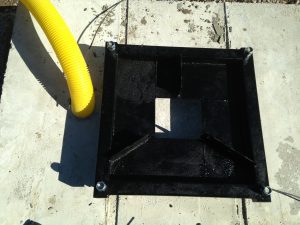
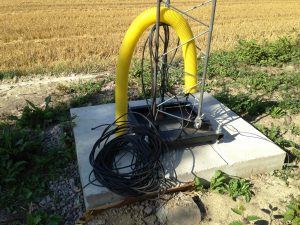
Here comes the hose up inside the barn
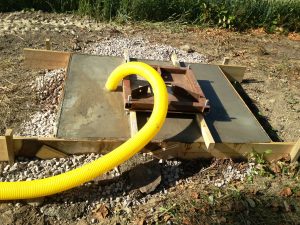
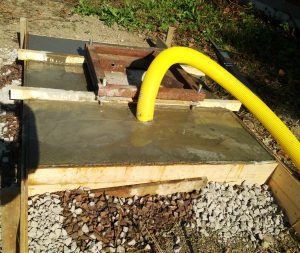
Then it was cast and clear 5 cubic
Burn and watered for two weeks
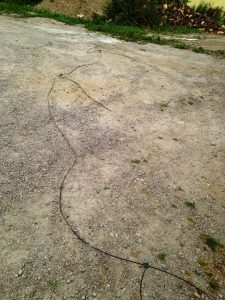
Then it was time to dig into the tower 30 cm deep for the ground
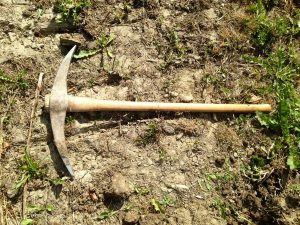
Good thing i had this
Thanks for the loan Christer SM7SKI
13 meters 12 mm copper wire around the base
Connection to the mast legs
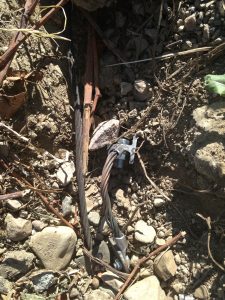
Here we see the connection with the ground rods 1.5 meter into the ground 3 pcs.
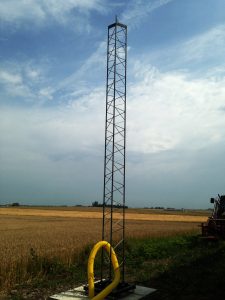
Painted and ready
Here follows the job of recunstruction the mats
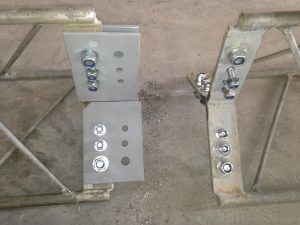
Then begins the job of getting the top two sections fit together
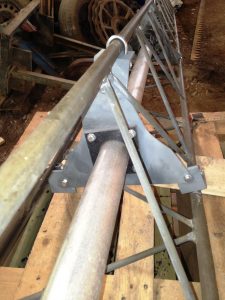
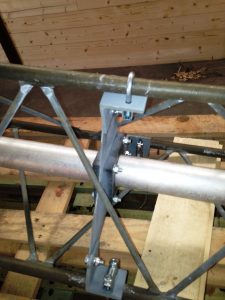
These sections are equally rough for better stabilisitet of rotor support bearings
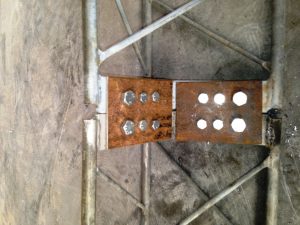
It got resolved with 6 hardened plates connecting section two and three.
This is the result
This storage one meter above the rotor saves a lot of sideways
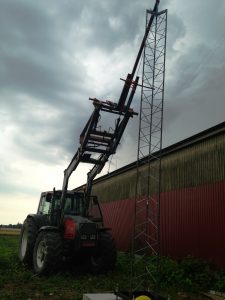
The first section of the way with the tractorloader
Here is the first section in place
This bolted section two and three together with one
with 9 elements two feet on top
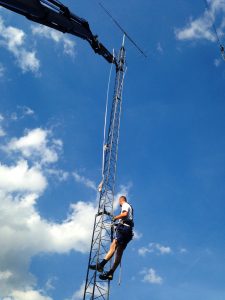
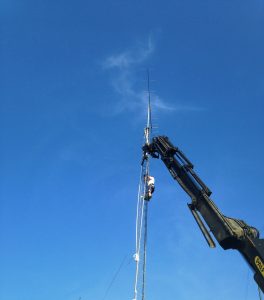
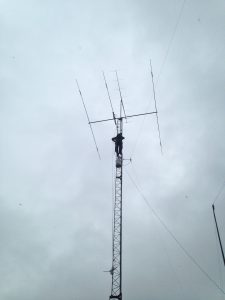
SM7SKI Christer climbs
Christer on his way to the top while
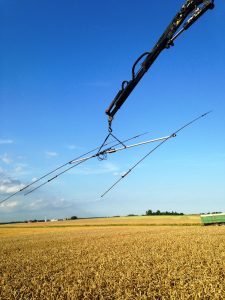
crane truck fetches shortwavebeamen
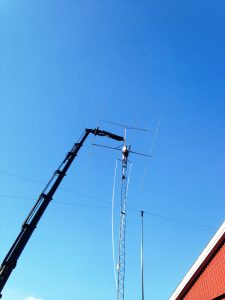
The beam also soon in place.
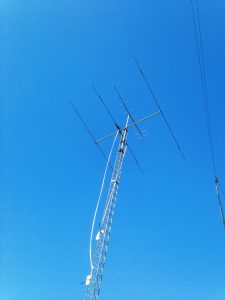
This is the result
Some video click on the links
First lift
On the way up
Soon in place
Sektion two and three in place
10-15-20 beamen on his way up
The beam in place
Now, half of the cables routed.
Even inside
Then also Beamen and Yagin for 2 yards contacted and connected.
Although Windom 160 dipole under SM7SKI Christer’s feet in place
Cables neat and tidy stripping along the mast.
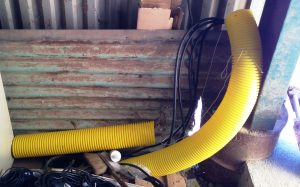
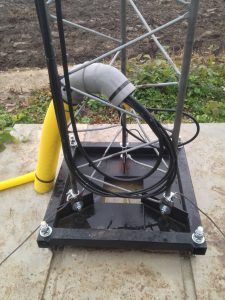
A moderate bend so the rainwater can not enter
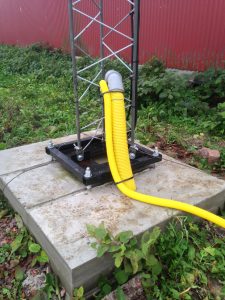
Even hose protectors neat stripping
The thinner hose is for 40 meters vertical down in the woods.
Video of the barn
